From panel to data

The controls decide whether an underfloor system heats evenly and efficiently, or stays slow, patchy and expensive to run. Here are the parts, the choices to make and how they come together in the control panel.
Underfloor heating works with low-temperature water and a lot of thermal mass. Those are its strengths: even comfort, no draughts, excellent efficiency with heat pumps. They are also why underfloor heating control needs proper thought. A floor that responds in hours rather than minutes does not forgive control mistakes.
This guide is for installers: which parts you need, which choices to make, and how it all comes together in the control panel. In an earlier article we looked at how much zone control can save. Here we look at how to do it.
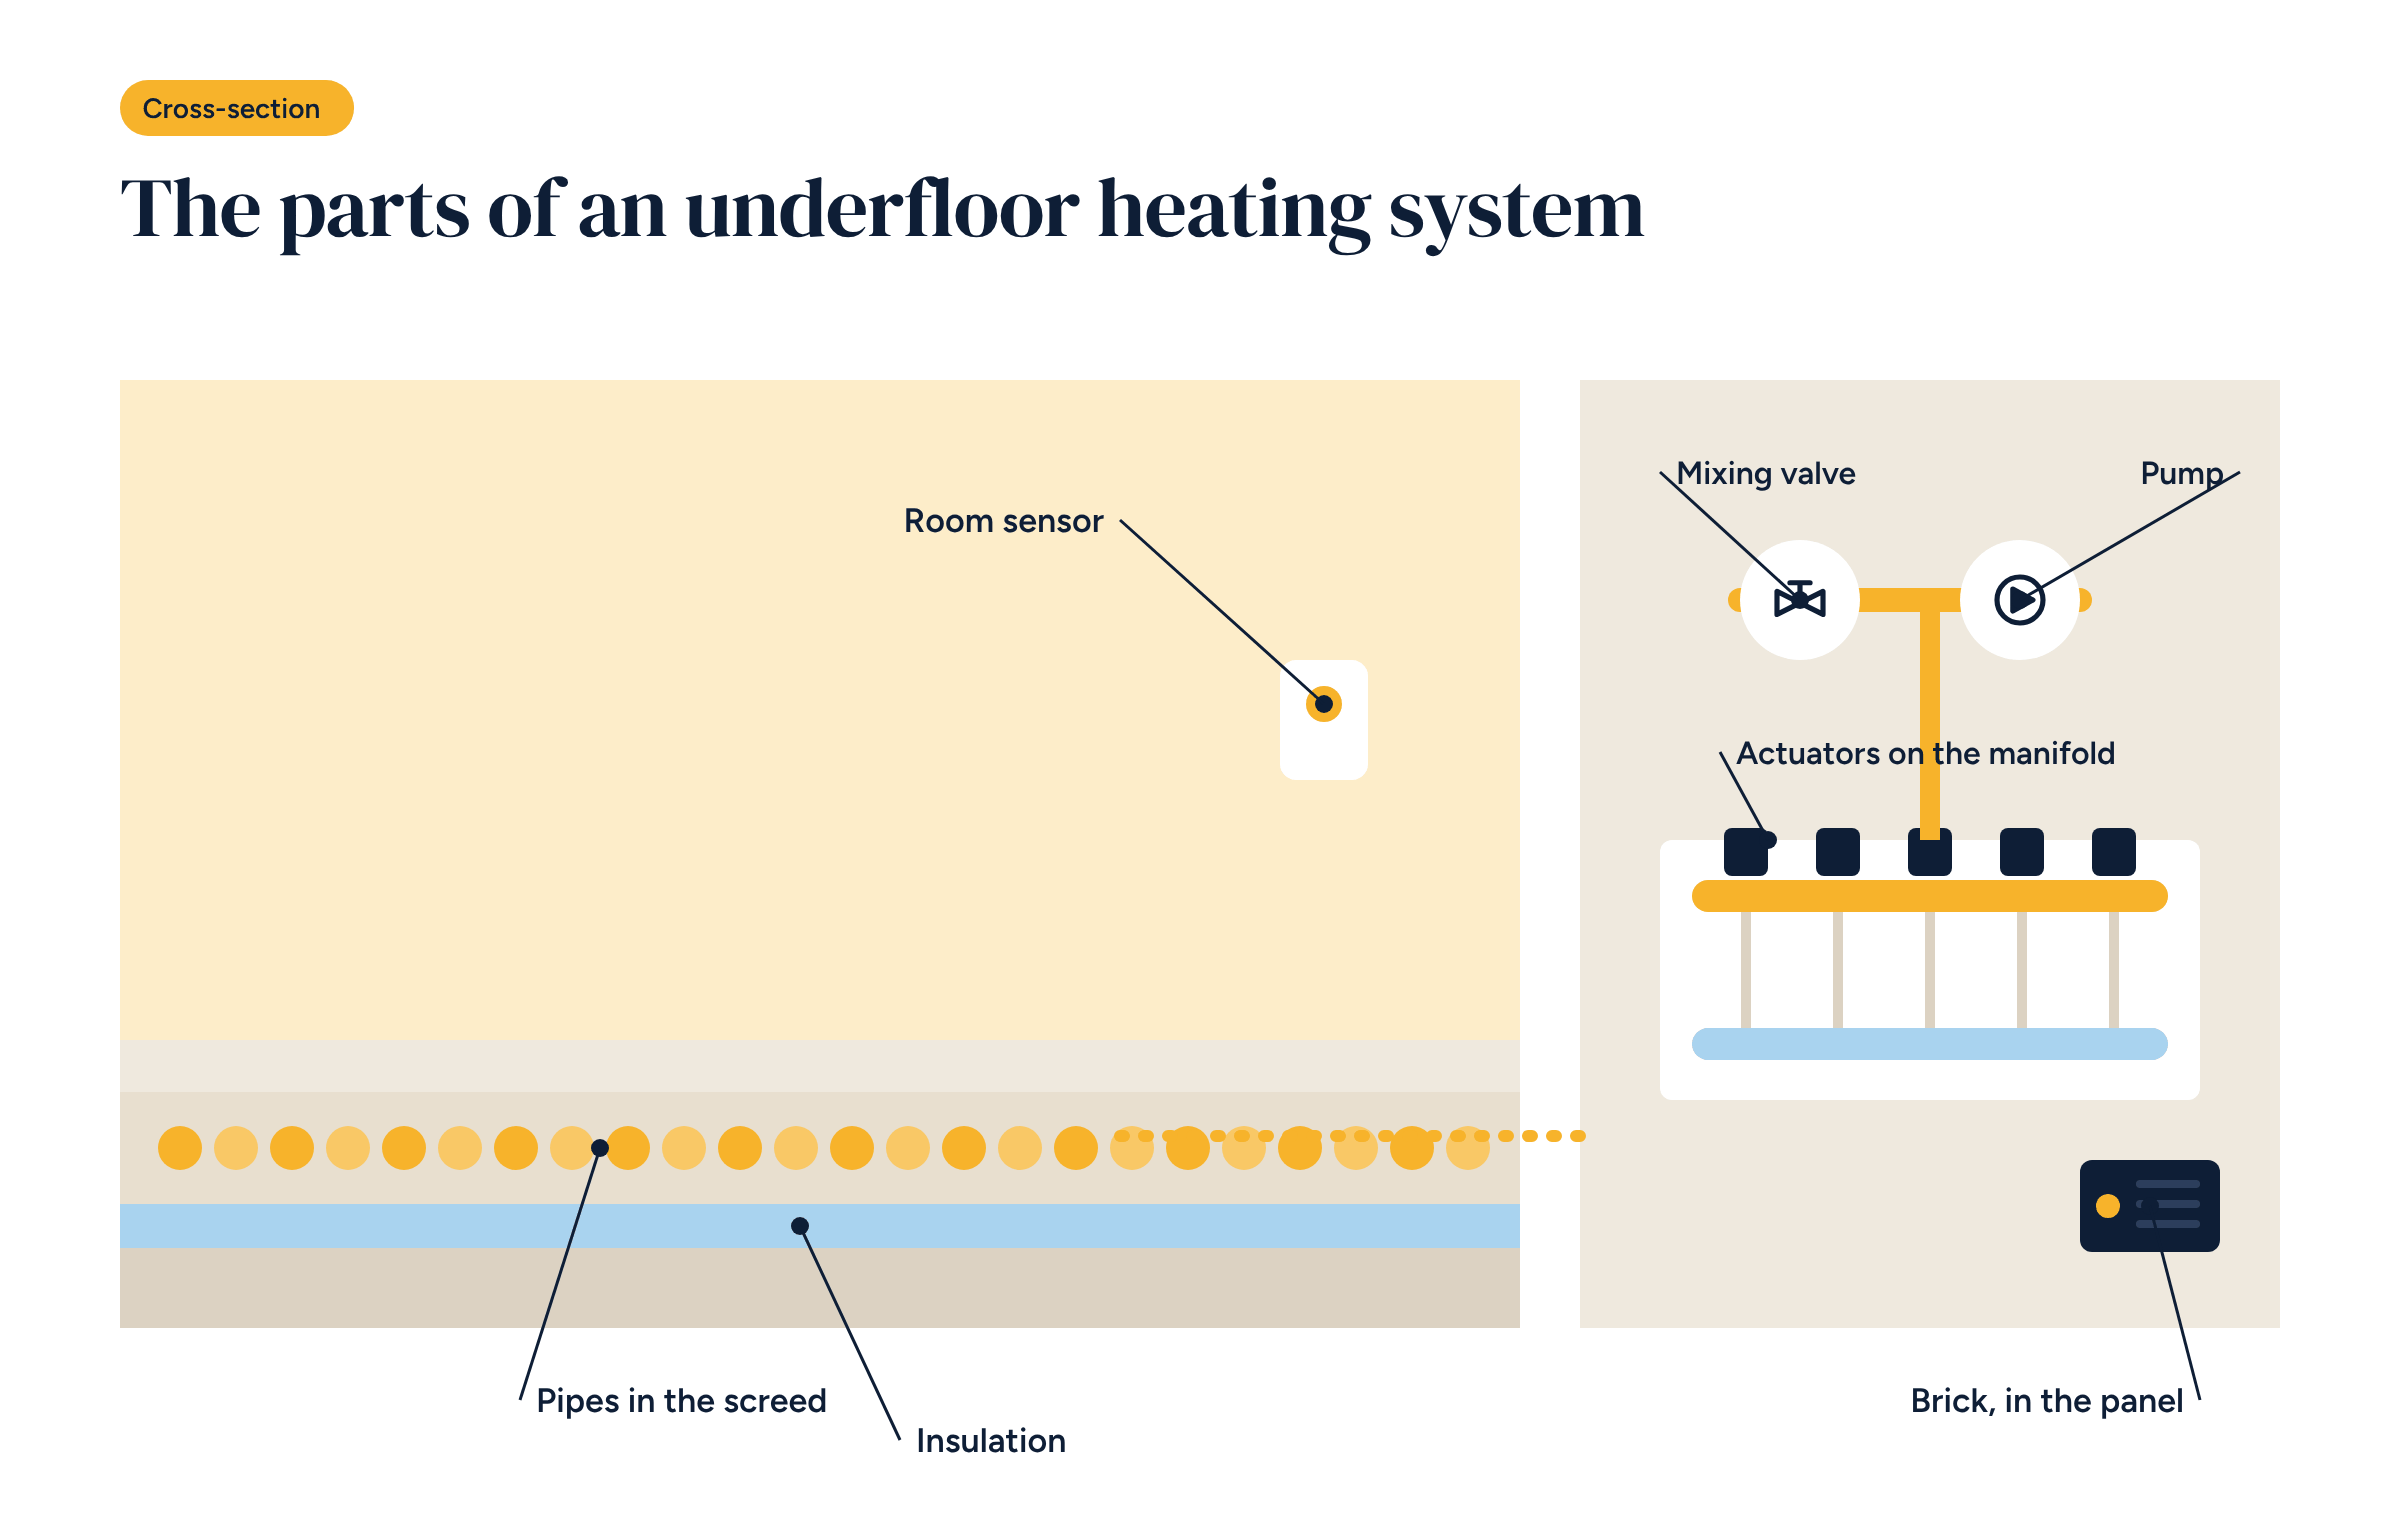
Let’s start with the water and end at the panel.
The heat source. A condensing boiler or a heat pump. Both work best with a low flow temperature: underfloor heating usually runs at 30–35 °C, rarely above 40 °C.
The three-way mixing valve. It blends hot water from the heat source with water returning from the floor, so the loops get the right temperature. You need it when the heat source produces water hotter than the floor needs, for example a boiler that also feeds bathroom radiators or domestic hot water. It is driven by an actuator, either 3-point or modulating 0–10 V.
The underfloor circuit pump. It circulates the mixed water. These days it is almost always an electronic, variable-speed pump.
The manifold. It distributes water to the loops, one or more per room. Each return port carries a thermoelectric actuator that opens or closes the loop. They are slow, taking a few minutes to open, which suits a floor perfectly.
The sensors. One room sensor per zone, wired or wireless. A flow sensor, just downstream of the mixing valve. An outdoor sensor, if you use weather compensation. Systems that also cool in summer need a humidity sensor.
The safety device. A manual-reset high-limit thermostat on the flow, which stops the pump if the water exceeds the maximum temperature allowed for the screed. It is hard-wired and does not depend on the controller.
The first choice is how to decide the temperature of the water going into the floor.
Fixed flow temperature. The mixing valve always holds the same temperature, say 35 °C, and the actuators open and close the zones. It is simple, but on mild winter days the floor gets hotter water than it needs and the zones cycle on and off a lot.
Weather compensation. The flow temperature follows the outdoor temperature along a curve: the colder it is outside, the warmer the water. It is the right choice for almost every system, and essential with a heat pump, since every degree off the flow temperature improves its efficiency. We will cover the heating curve in detail in a dedicated article.
The best setup combines both: weather compensation on the flow, actuators fine-tuning room by room. The controller can also adjust the curve when it sees that every zone has been calling for heat for hours, or that none has.
A 5–7 cm screed takes hours to warm up and hours to cool down. That changes how you think about zones.
Before deciding on zones, check the manifold layout. Loops are often laid room by room but labelled wrongly. An hour spent checking them at the start saves many during testing.
Heating control lives in the electrical panel. A good heating control panel has a few recurring features.
Wireless sensors, such as Zigbee, make upgrades much easier: no chasing walls, one sensor per room, freestanding or wall-mounted. In new builds, wired sensors remain the most robust choice.
Brick’s ready-made configurations cover the most common cases and share the same principle: the controller manages the heat source, mixing valve, pumps and zones, and logs all the data.
Every configuration also handles domestic hot water, distribution pumps and mechanical ventilation, where present. Each one comes with an architecture diagram and a wiring diagram in DWG.
Well-designed controls can still get off to a bad start. Three checks before commissioning:
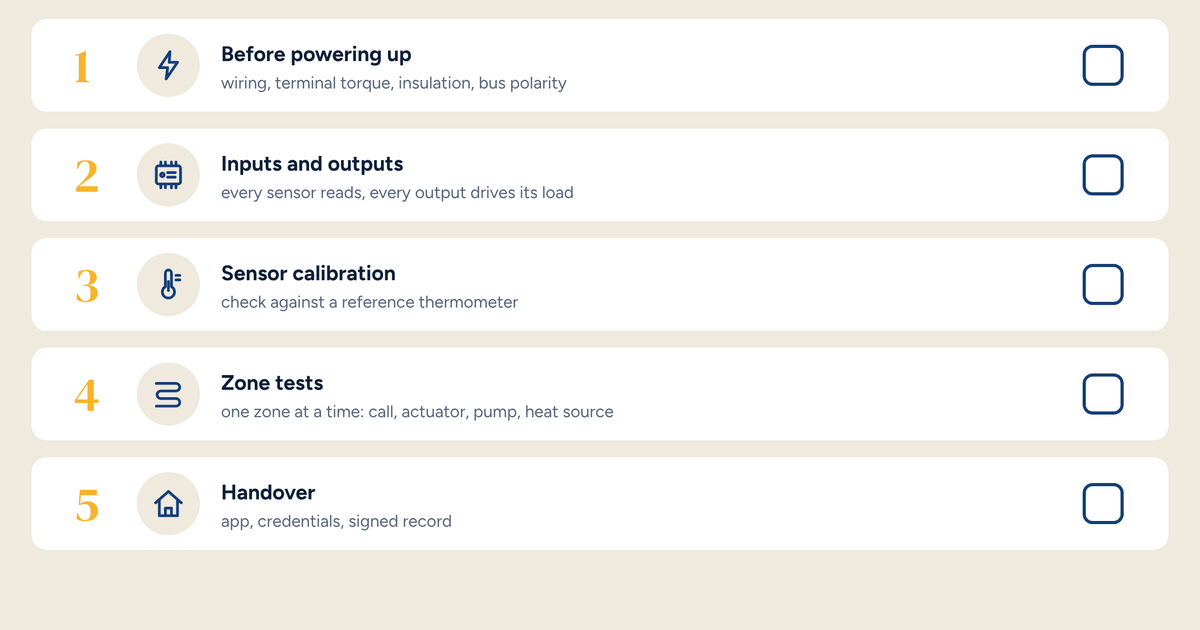
We will devote an article to commissioning, with the full checklist. For now, one piece of advice: update the wiring diagram with the changes made on site, and leave a copy in the panel.
Every Brick configuration comes with an architecture diagram and a wiring diagram in DWG. Start from configuration B2, underfloor heating with up to 8 zones and wireless sensors, and adapt it to your system.